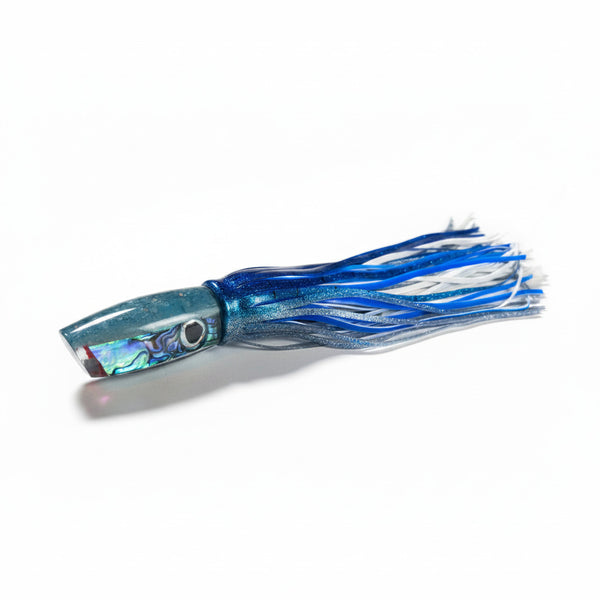
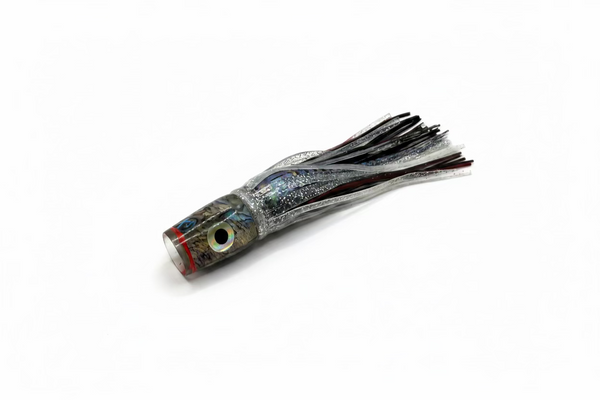
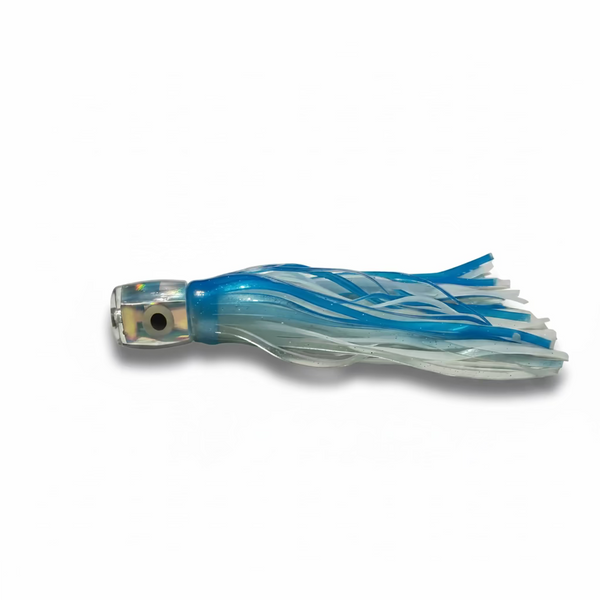
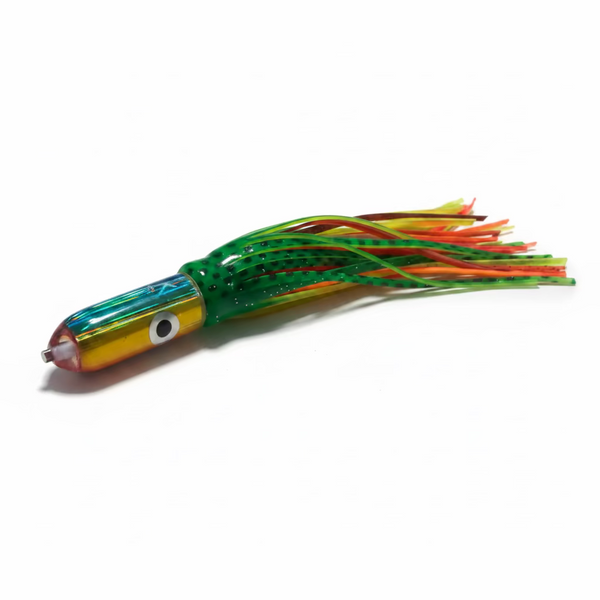
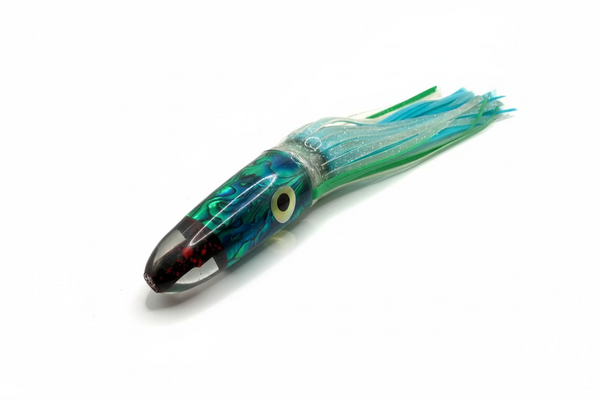
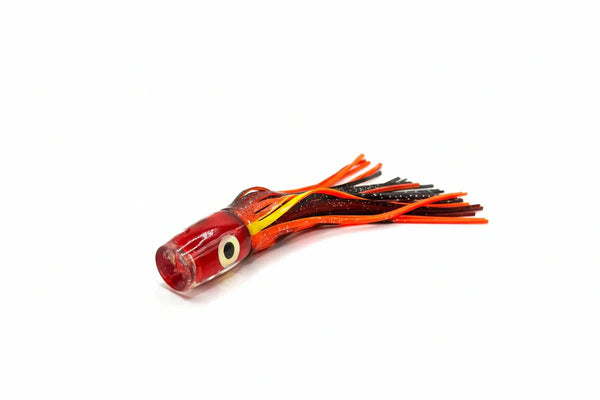
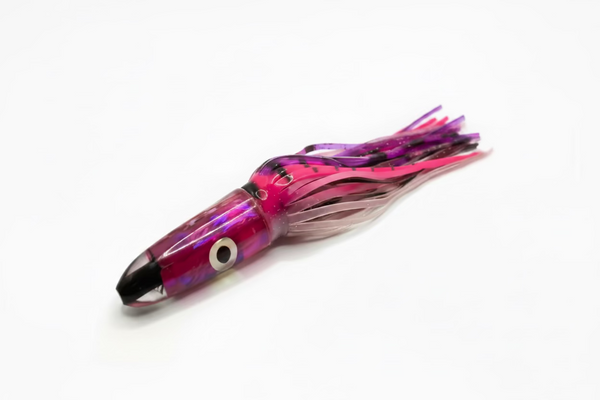
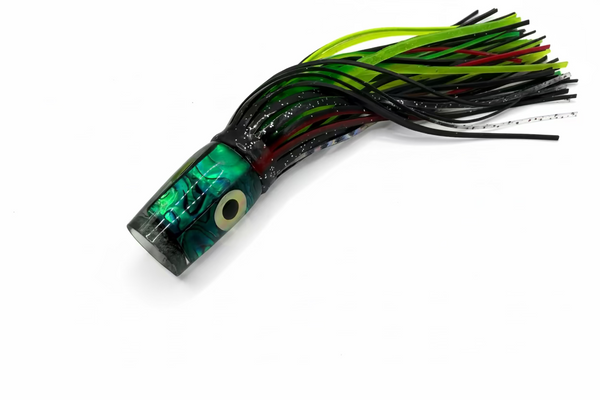
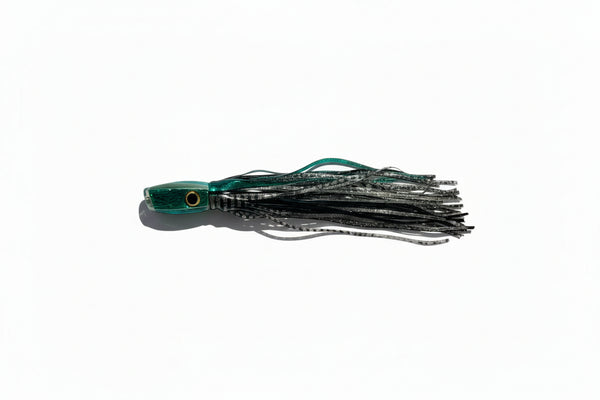
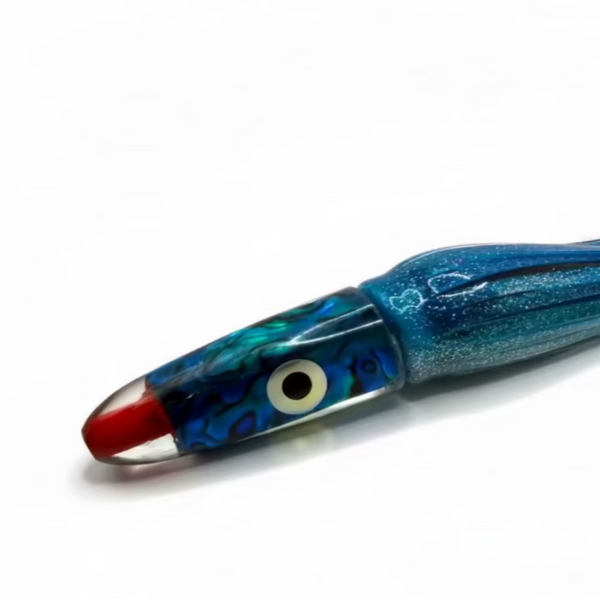
Resin trolling lures look simple, but a good one takes careful work. The shape of the head, the inlay, and the finish all affect how a lure swims and how long it lasts. Here is a general look at how resin lure heads are typically made.
1. Designing the head
Everything starts with the head shape. The face angle, whether flat, slanted, cupped, or bullet-shaped, decides how the lure moves. Slanted faces create a side-to-side swim and dive, while flat or cupped faces push more water and smoke. See offshore lure head shapes.
2. Making the mold
A master head is used to create a mold, often from silicone. The mold captures the shape so heads can be cast consistently.
3. Adding the insert
Before casting, inserts such as abalone shell, printed patterns, foil, or eyes are positioned in the mold. This is what gives each lure its flash and color. With natural shell, no two lures look exactly the same.
4. Casting the resin
Clear or tinted resin is mixed and poured into the mold around the insert. Air bubbles are removed so the head is clear and strong. A tube is usually set through the center for the leader.
5. Curing
The resin hardens over time. Proper curing creates a hard, durable head that resists cracking from strikes.
6. Shaping and finishing
After demolding, heads are trimmed, sanded, and shaped. The face is finished to the exact angle. Then heads are polished or coated to a glass-clear shine so the insert shows through.
7. Skirting and rigging
Finally, skirts are added, often in two layers, and the lure may be rigged with a leader and hook. Each lure should be swim-tested to make sure it tracks properly.
Why handcrafted matters
Handcrafted lures allow attention to detail at every step: balanced heads, clean faces, and carefully placed inserts. That consistency helps lures run true at trolling speed.
See K2Fishing's handcrafted lures in our offshore trolling lures collection, and read why handcrafted trolling lures still win.