

In big-game fishing, the most common reason for losing a trophy fish is not a lack of skill but a failure of equipment. The integrity of a trolling setup is only as strong as its weakest component. Understanding how to rig trolling lures with professional precision is the first step toward eliminating this risk. This process is an essential discipline, not a suggestion. A standard rig consists of the lure, leader, hook, and terminal tackle like crimps and swivels. Each element must be selected and assembled to withstand the immense, sudden forces of a pelagic strike.
The core function of a proper rig is twofold: to ensure correct lure action and to provide the durability required for a prolonged fight. A poorly rigged lure will not perform as designed, failing to attract the intended target. More critically, a weak connection point will inevitably break under pressure. For the serious angler, elite rigging and maintenance are fundamental to achieving consistent success. This discipline protects your investment in high-quality offshore trolling lures and ensures your gear is always prepared for the fish of a lifetime.
Foundations of Rigging Offshore Trolling Lures
Gear failure, not angler skill, is the most common reason for losing a trophy fish. The integrity of a trolling setup is only as strong as its weakest component. This makes meticulous rigging an essential discipline, not a mere suggestion. Understanding the fundamentals of how to rig trolling lures is the first step toward eliminating gear failure. The core components of a standard rig include the lure, leader, hook, and terminal tackle such as crimps, swivels, and chafe gear. Each part serves a specific function in withstanding the immense forces of a big-game strike.
The lure attracts the fish, the hook secures the bite, the leader provides a durable connection, and the terminal tackle joins everything together. The relationship between professional-grade rigging, correct lure action, and durability is direct. A poorly assembled rig compromises lure performance and creates a point of failure. For the serious angler, elite rigging and maintenance are fundamental to achieving consistent success and protecting their investment in high-quality offshore trolling lures. It is the foundation upon which all bluewater success is built.
Mastering Professional Rigging Techniques
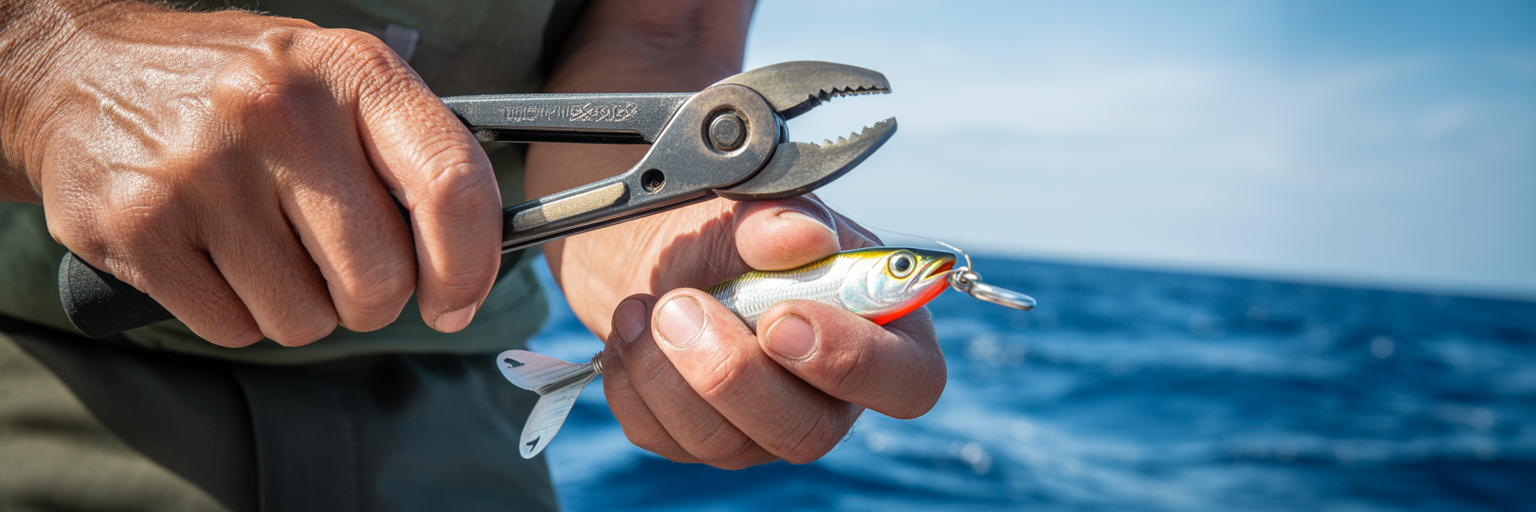
Executing a flawless rig requires precision and an understanding of how each component works in unison. This knowledge empowers an angler to assemble tackle that will not fail under extreme pressure. From hook selection to the final crimp, every detail contributes to the system's overall strength and performance.
Selecting the Correct Hook and Leader
The professional standard is to match the hook size to the lure head's diameter. This ensures the lure tracks correctly in the water and maintains an optimal hook-up ratio. A hook that is too large can deaden a lure's action, while one that is too small may not secure a solid connection. For example, our range of large resin lures is engineered for specific hook pairings to guarantee peak performance. Leader material selection is equally critical and depends entirely on the target species and water conditions. Each material offers distinct advantages in terms of visibility, stretch, and abrasion resistance.
| Leader Material | Primary Use Case | Key Characteristics | Target Species |
|---|---|---|---|
| Monofilament | General trolling for most pelagics | High stretch, forgiving, good knot strength | Tuna, Dolphin (Mahi-Mahi), Sailfish |
| Fluorocarbon | High-visibility conditions, wary fish | Low visibility, high abrasion resistance, low stretch | Marlin, Tuna, Wary Pelagics |
| Single-Strand Wire / Cable | Toothy predators | Maximum bite protection, low stretch | Wahoo, King Mackerel, Sharks |
The Art of the Perfect Crimp
A crimp is the most critical connection in a trolling rig, and its failure is not an option. Creating a perfect connection requires a high-quality crimping tool and meticulous technique. As rigging experts detail in guides like the one from In The Spread, a perfect barrel-shaped crimp is the foundation of a reliable connection. Follow these steps for a professional-grade result:
- Select the correct crimp size for your leader diameter.
- Pass the leader through the crimp, around the hook or swivel eye, and back through the crimp.
- Position the crimp in the correct jaw of your crimping tool and apply firm, steady pressure.
- Ensure the finished crimp has a slight flare at the edges, with no sharp burs.
Under-crimping leads to slippage under load, while over-crimping weakens the leader by crushing it, creating a catastrophic failure point.
Protecting High-Stress Connections
Leader loops at the hook and swivel are high-stress points susceptible to abrasion. Chafe gear, such as a stainless steel thimble or a plastic tube, must be used inside the loop to protect the leader from the metal edges of the hook eye. Heat-shrink tubing can then be applied over the crimp and connection to create a streamlined, snag-free finish. For wahoo lure rigging, single-strand wire or cable is non-negotiable. The unparalleled bite strength of a wahoo will sever monofilament or fluorocarbon instantly, making bite-proof leader material an absolute necessity.
Advanced Setups for Target Species
Beyond rigging individual lures, a strategically configured spread creates a compelling presentation that attracts predators. This involves understanding how different rig styles and supplementary tackle work together to simulate a bait school. Many professionals now prefer single-hook rigs over traditional double-hook setups. A single hook offers superior lure tracking, allowing the lure to swim with its intended action. It is also less harmful to fish, which is a critical consideration for anglers practicing catch and release.
Species-specific nuances also dictate rigging choices. When targeting marlin, for instance, some anglers use slightly lighter leaders to enhance lure action, as bite-offs are less of a concern compared to wahoo fishing. The presentation is further improved by integrating supplementary tackle. Squid chains, bird teasers, and dredges create the illusion of a panicked bait school, drawing predators into the spread and toward the hooked lures. A complete trolling system is key to this strategy, and anglers can explore all our collections to build a comprehensive and effective spread.
For the most demanding applications, such as targeting world-class pelagics, some experts employ redundant connections. This involves adding a secondary, lighter crimp behind the primary load-bearing crimp. While it offers no structural strength, it can act as a fail-safe to prevent the tag end from slipping through if the primary crimp is compromised during the violent shock of a strike.
Post-Trip Lure and Tackle Maintenance

The work is not finished when the boat returns to the dock. Immediate and disciplined big game fishing tackle maintenance is what separates amateurs from professionals. Salt is relentlessly corrosive, and failing to address it will degrade even the highest quality gear. Adopting a strict post-trip protocol ensures the longevity and performance of your tackle.
- Freshwater Rinse: The first and most critical step is a thorough freshwater rinse of all lures, hooks, leaders, and terminal tackle. This removes salt deposits that initiate corrosion on metal components and degrade leader materials.
- Clean Lure Heads: Resin-head lures must be washed gently with mild soap and water to remove salt residue and any accumulated grime. This restores their finish and flash, which is essential for attraction. For example, designs like the Blue Large Resin Abalone lure require this gentle cleaning to maintain their unmatched iridescence.
- Dry and Store Properly: After cleaning, all tackle must be dried completely before storage. Storing lures in breathable mesh bags is highly recommended over sealed plastic bags, which can trap residual moisture and accelerate corrosion and mildew growth.
- Inspect Leaders: Wipe down all monofilament and fluorocarbon leaders with a soft cloth and run them through your fingers to feel for any nicks, chafing, or abrasions. Any compromised section must be noted for replacement.
This level of meticulous care is a principle that extends beyond fishing. Just as professionals in other fields, such as body art, adhere to strict hygiene protocols outlined in guides like this one on safe body art to ensure safety and longevity, anglers must adopt a similar mindset for their gear.
Systematic Inspection and Long-Term Care
Proactive, long-term offshore lure care is a strategic advantage for any serious angler. While post-trip cleaning addresses immediate corrosion risks, a systematic inspection process before every outing ensures that your gear is in peak condition when it matters most. This pre-trip check is a non-negotiable routine.
- Test Hook Sharpness: A hook must be sharp enough to scratch your thumbnail with minimal pressure. If it slides, it is not ready for service.
- Check Crimp Integrity: Give each crimped connection a firm, confident pull to ensure there is no slippage. Visually inspect for any signs of corrosion or cracking.
- Examine the Leader: Run your fingers slowly along the entire length of the leader, feeling for any nicks, abrasions, or flat spots that indicate weakness.
The process of sharpening trolling hooks should be part of this routine. Use a file to shape the point, followed by a stone to hone it to a sharp, conical tip for maximum penetration. Any hook that shows significant rust or cannot hold an edge should be replaced. As a rule, you must re-rig entirely after any significant catch or whenever a component shows visible wear. Finally, a seasonal inventory refresh is recommended. Review all tackle, discard any compromised gear, and ensure all rigs are brought to peak condition. You can prepare for the season by reviewing tackle recommendations based on the fish you pursue to ensure you have the right gear ready.